Residential Solar Cleaning
Don't Let Dirty Panels Cost You $$$
Clean Panels Make More Powa!
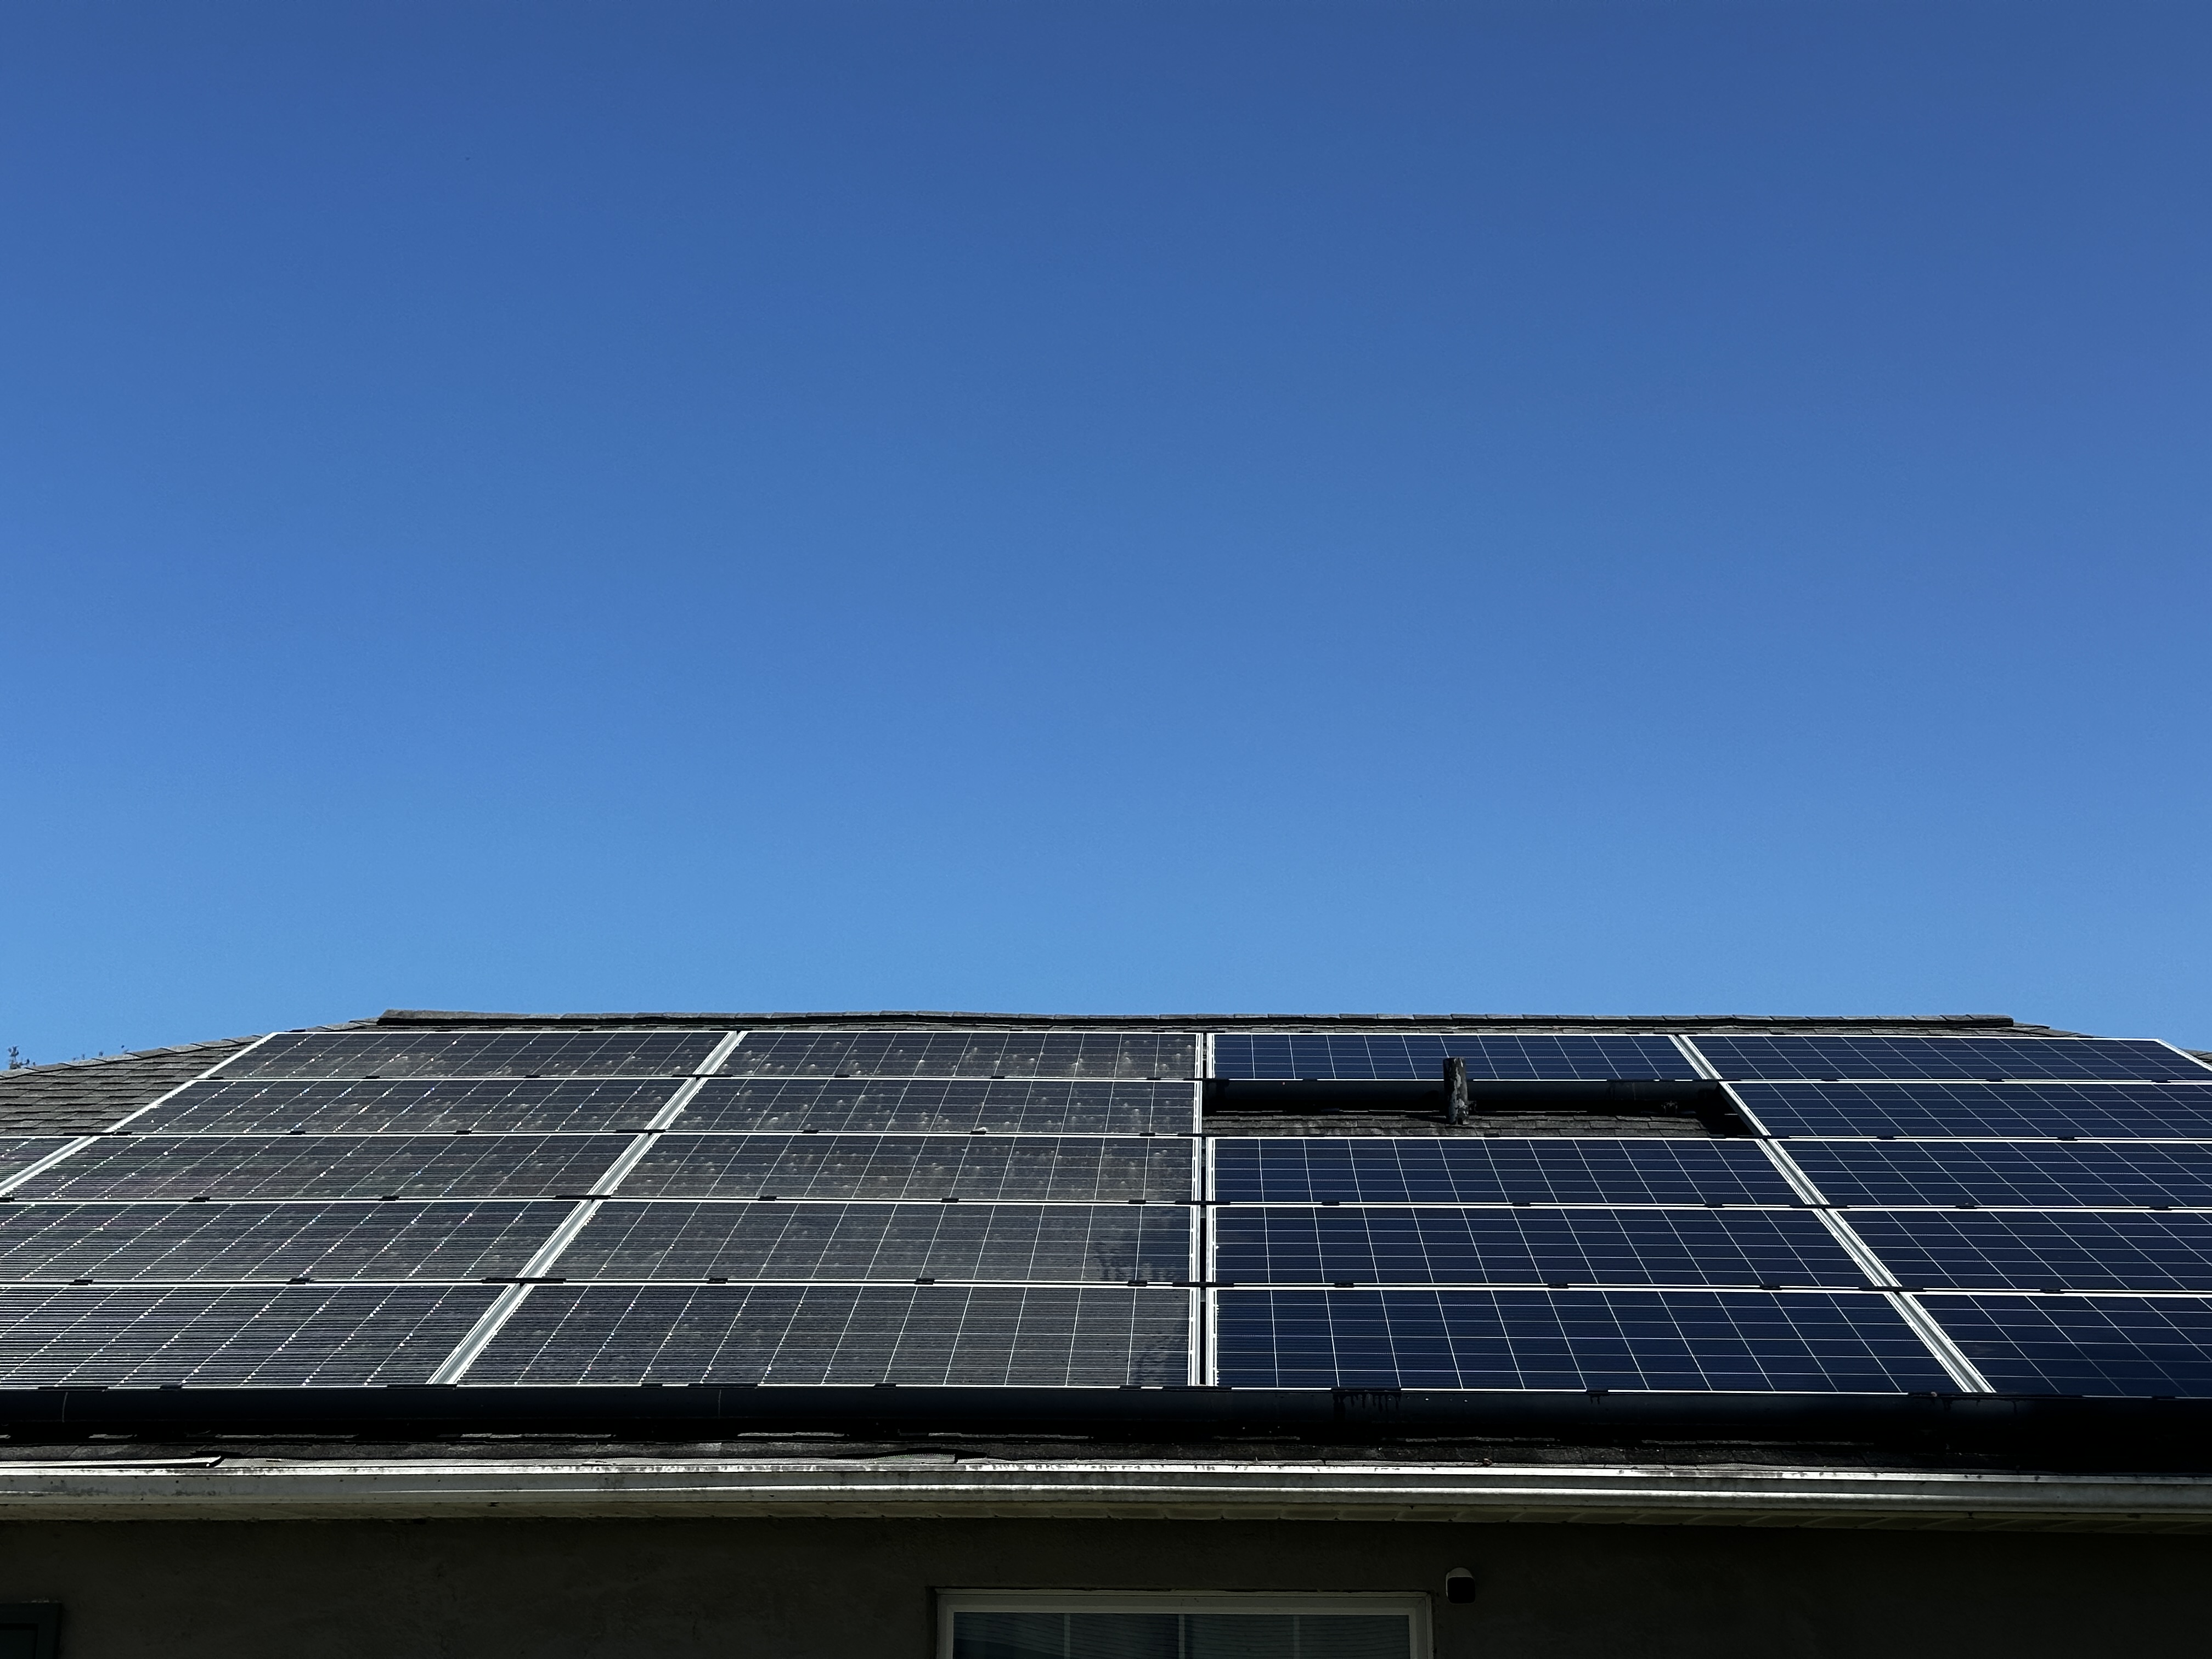
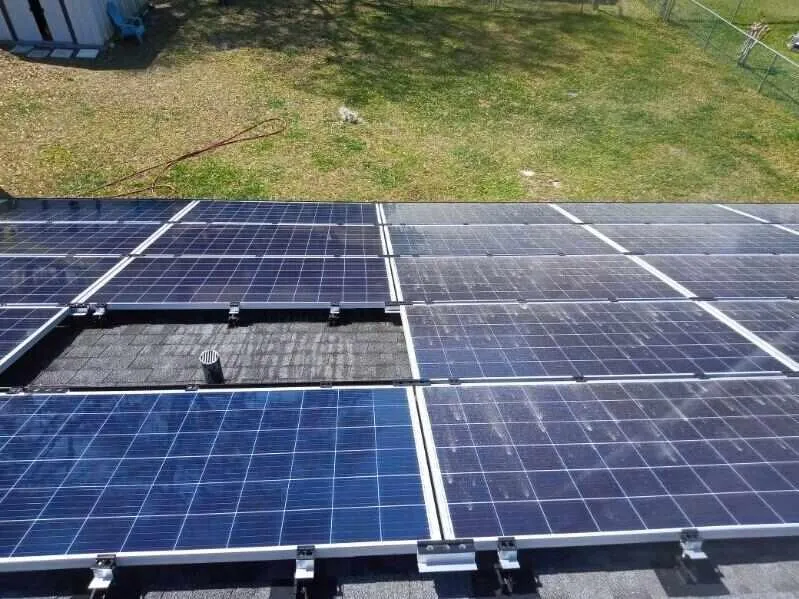
Get EVERY Kwh You're Owed
Did you know that dirty solar panels can produce up to 25% less energy on average? That's over $1000 annually in lost production for homeowners like you! Don't let dust, dirt, and debris diminish the performance of your solar system – trust LotPatrols to keep your panels sparkling clean and operating at peak efficiency.
Our Residential Solar Panel Cleaning services are designed to protect your investment and maximize your energy savings. With our expert team and specialized cleaning techniques, we'll remove dirt, grime, and other build-up that can hinder your panels' performance. Whether you have a small rooftop system or a large ground-mounted array, we've got the tools and expertise to get the job done right.
At LotPatrols, we understand the importance of clean solar panels in maximizing your energy production and reducing your carbon footprint. That's why we're committed to delivering exceptional results that exceed your expectations. With regular cleaning from LotPatrols, you can enjoy peace of mind knowing that your solar system is operating at its full potential – saving you money and helping the environment.
Ready to start saving more with cleaner solar panels? Contact LotPatrols today to schedule your professional panel cleaning and take the first step towards maximizing your solar investment.
Maximize your savings with LotPatrols Residential Solar Panel Cleaning services – because every watt counts!
Our Cleaning Process
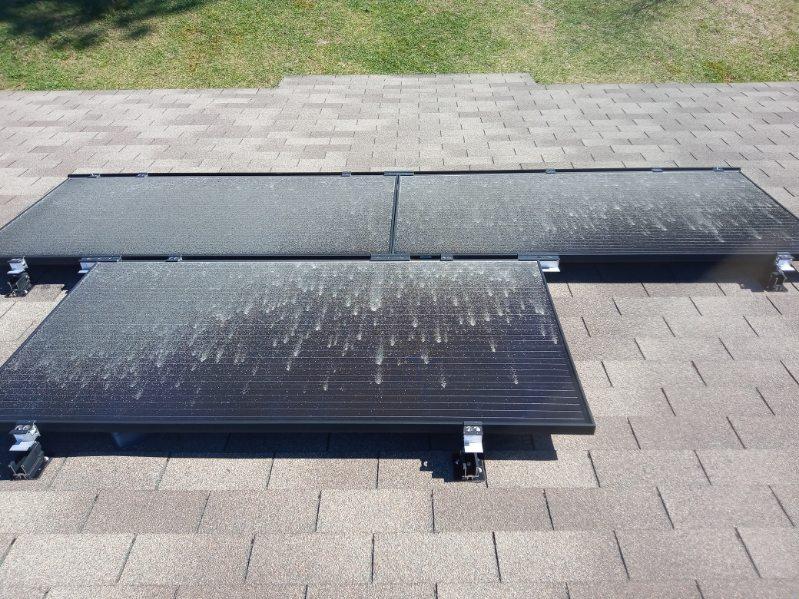
We begin by assessing the condition of the solar panels to identify any areas of heavy dirt, debris, or buildup. This step involves inspecting the panels for any signs of damage or deterioration that may need attention before cleaning.
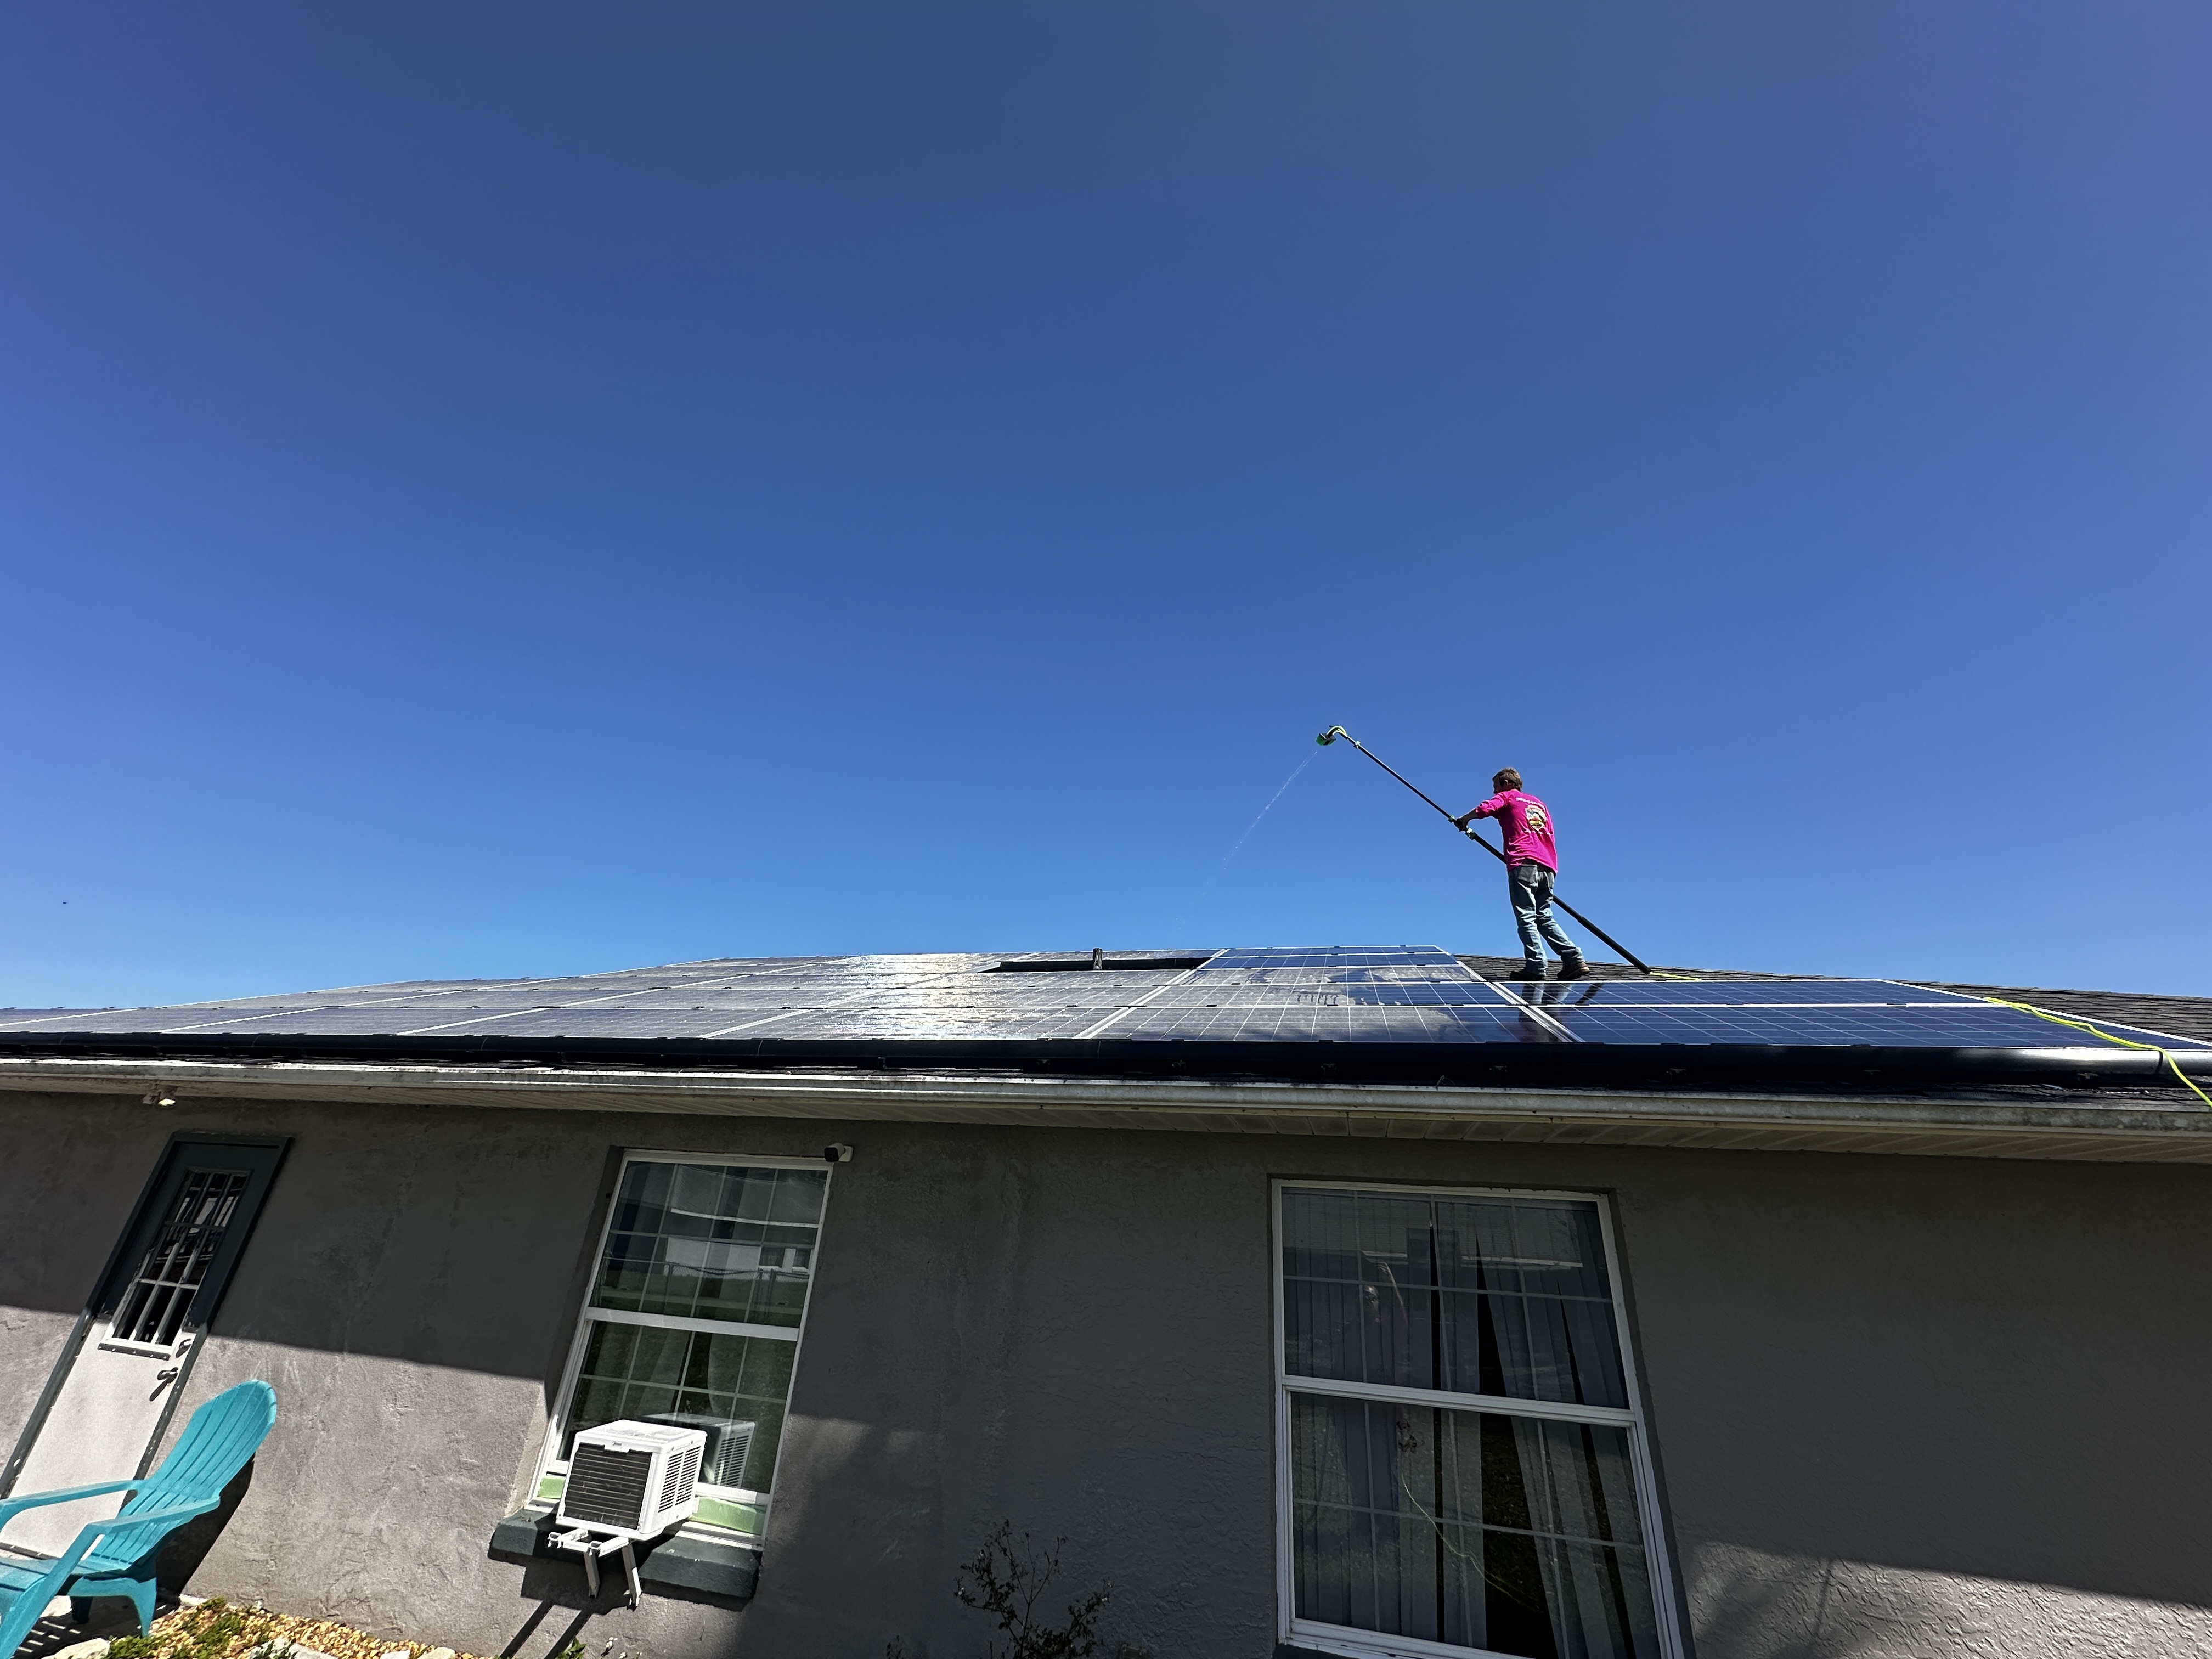
We prepare the area around the solar panels for cleaning by removing any obstacles or debris that may obstruct access. This includes trimming nearby vegetation, clearing away leaves or branches, and ensuring a safe working environment for the cleaning process.
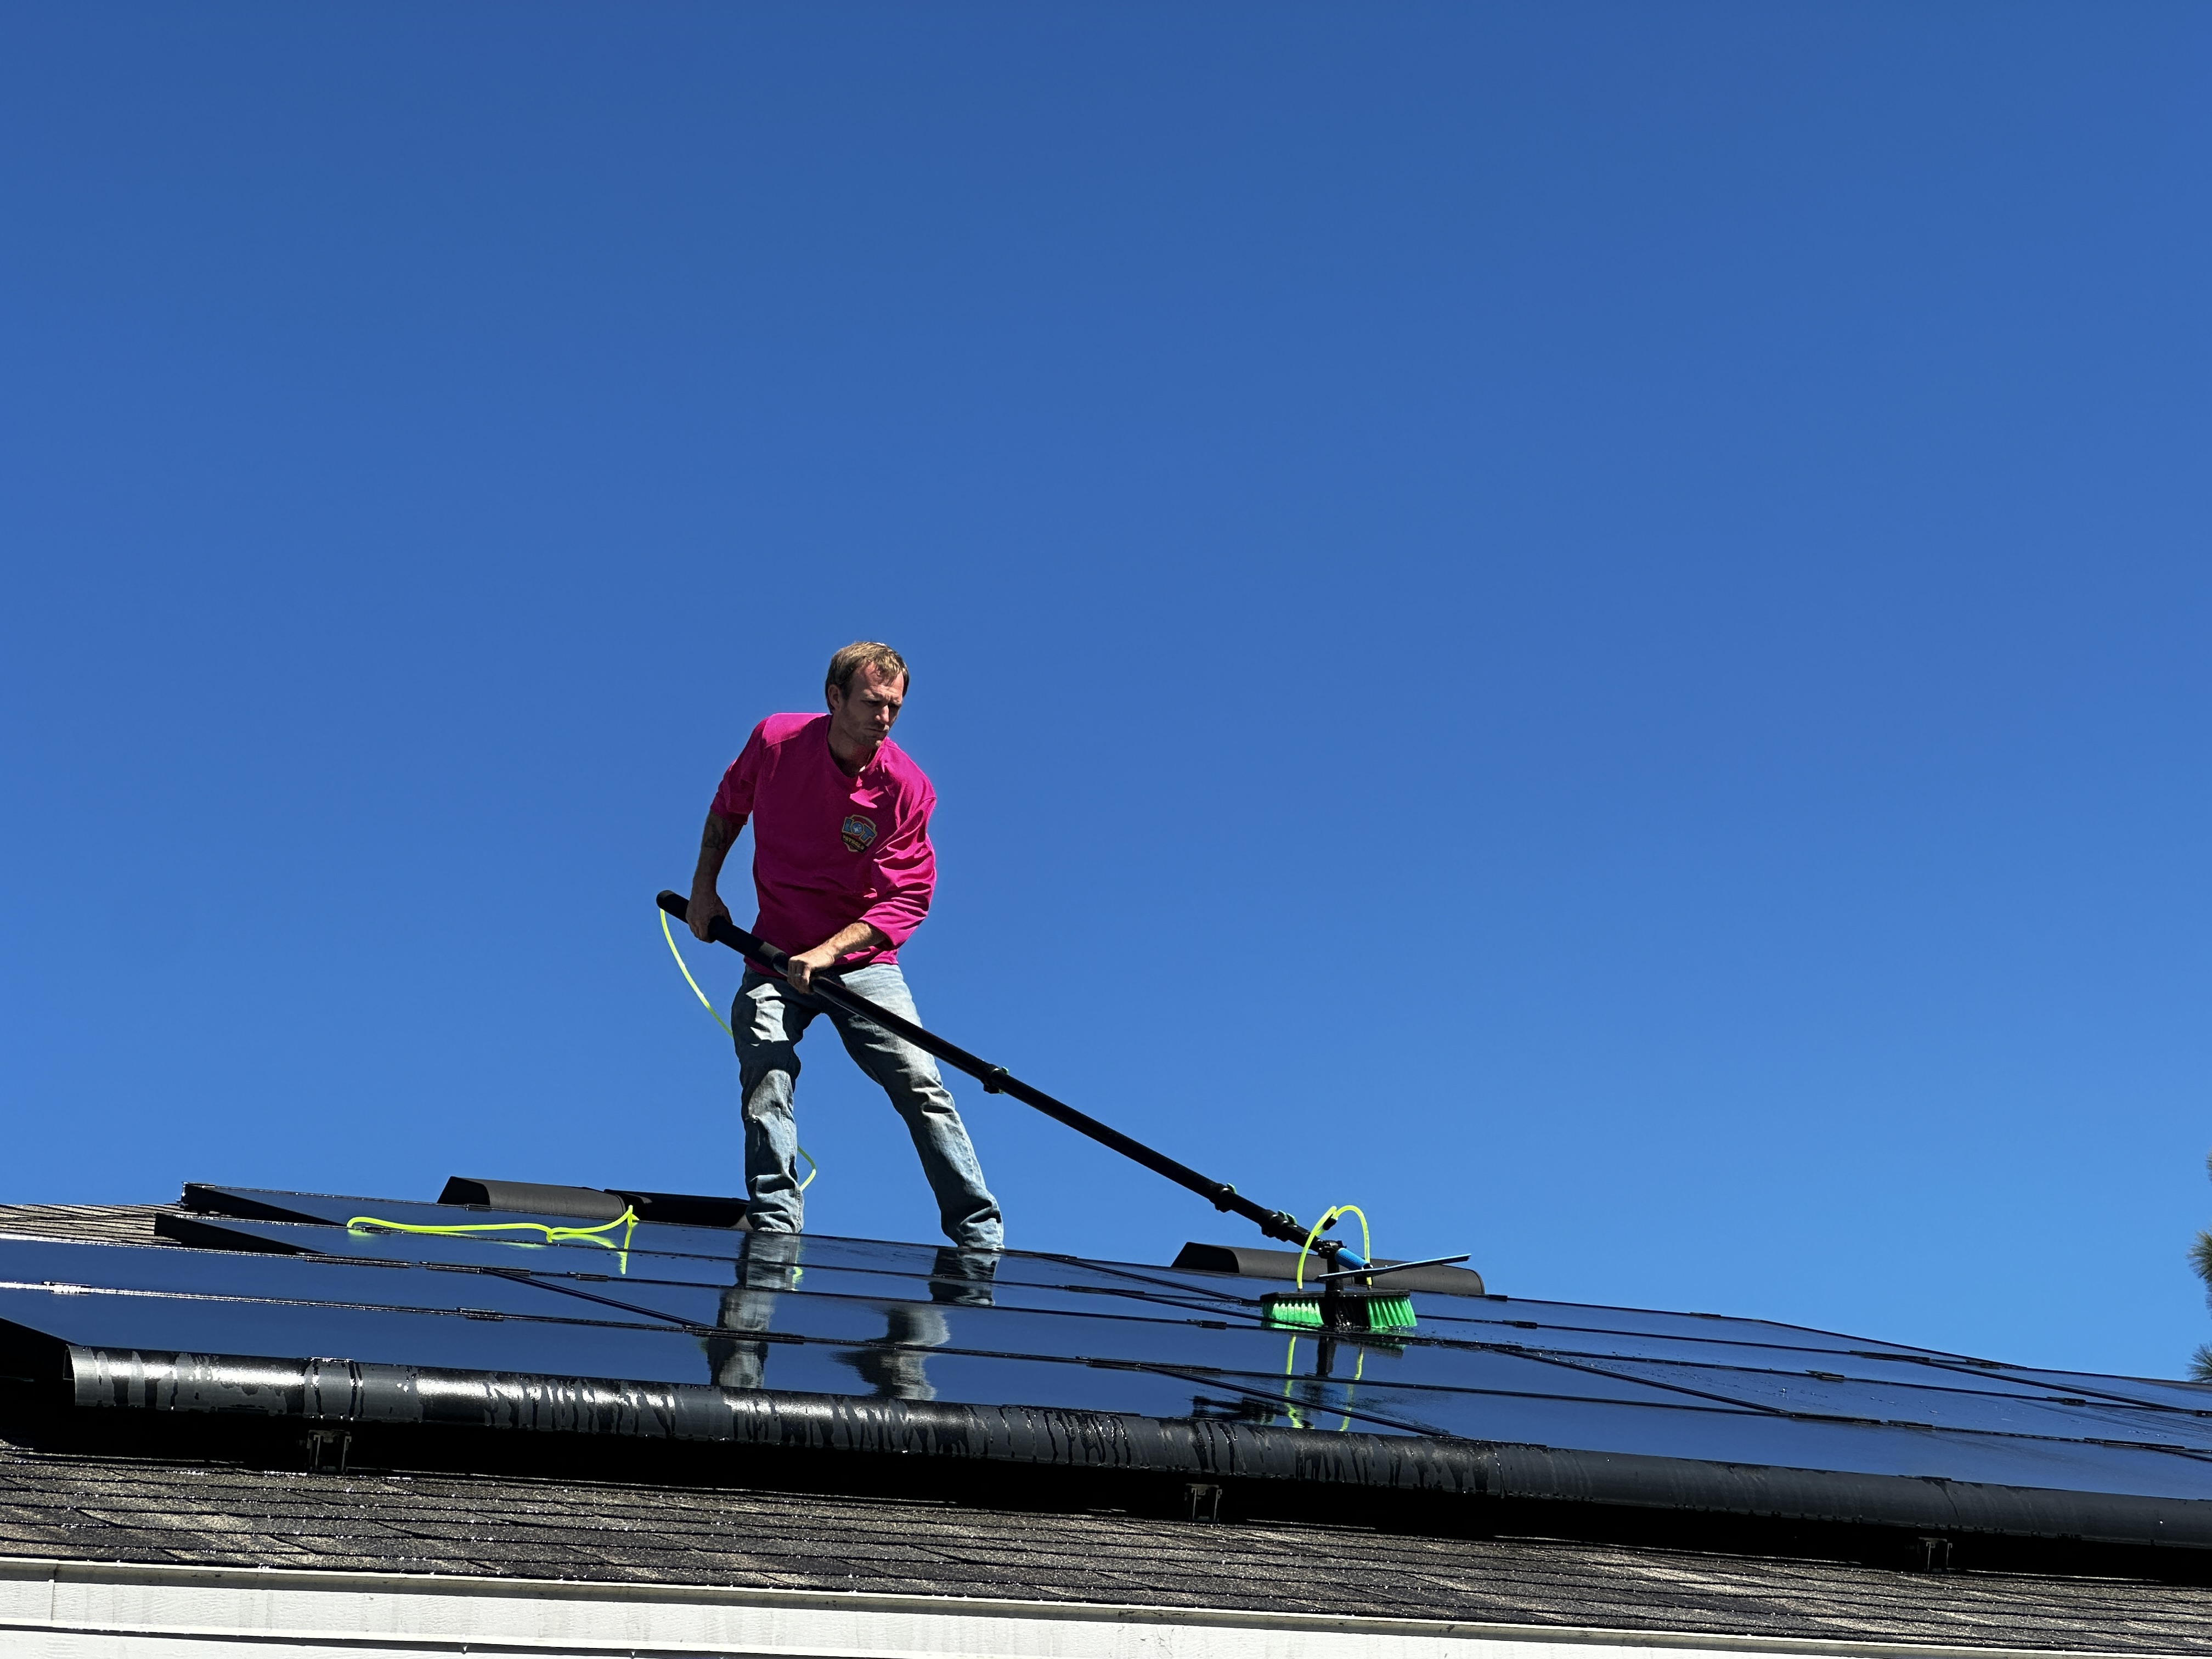
We use specialized equipment and eco-friendly cleaning solutions to gently remove dirt, dust, and grime from the surface of the solar panels. This step may involve gentle scrubbing with soft brushes or sponges to ensure thorough cleaning without causing damage to the panels.
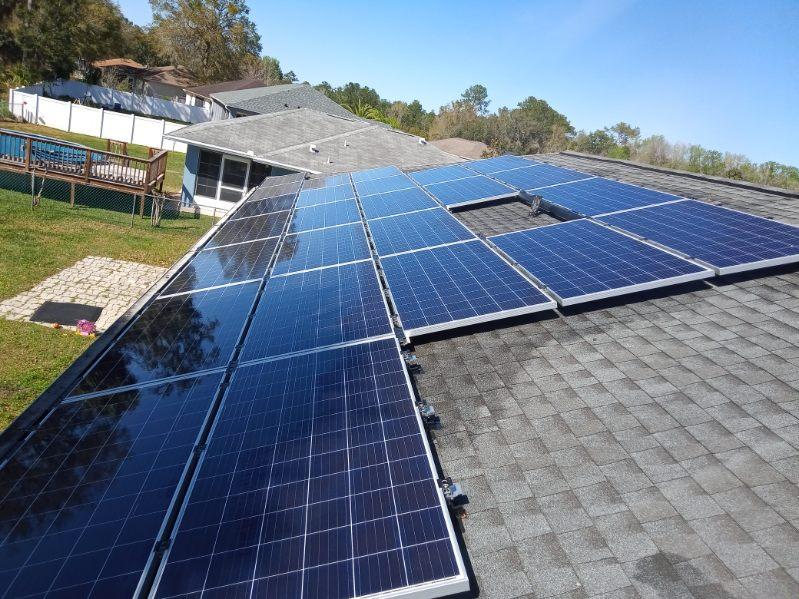
Once the cleaning process is complete, we conduct a final inspection of the solar panels to ensure that they are free from any remaining dirt or debris. This step involves checking each panel individually to verify that they are clean and functioning optimally, ready to harness maximum sunlight for energy production.

What Are the Best Practices for DIY Residential Window Washing?
What Are the Best Practices for DIY Residential Window Washing?
Streaky and Unclean Windows
Have you ever spent a sunny afternoon cleaning your windows only to be left with streaks and smudges? Many homeowners face the frustration of putting in the effort but not achieving the desired results. Streaky windows not only ruin your view but also diminish the overall appearance of your home. This common problem can be addressed with the right techniques and tools, ensuring that your windows remain sparkling and spotless.
The solution lies in understanding the best practices for residential window washing. With the right approach, you can transform your windows from dull and dirty to crystal clear. DIY window washing is not only cost-effective but also allows you to maintain the cleanliness of your home on your schedule.
The Importance of Clean Windows
Clean windows are essential for several reasons. They enhance the aesthetic appeal of your home, allowing natural light to flood in and create a welcoming environment. Dirty windows can give a negative impression, making your home appear neglected and uninviting. Beyond aesthetics, clean windows also contribute to the overall health of your living space by reducing the build-up of dust and allergens.
Aesthetic Appeal: Clean windows make your home look more attractive and inviting.
Natural Light: Clear windows allow more sunlight to enter, brightening your home.
Health Benefits: Regular cleaning reduces dust and allergens, improving indoor air quality.
Failing to clean your windows regularly can lead to more significant issues, such as permanent stains and damage. Hard water deposits, mineral build-up, and environmental pollutants can etch into the glass, reducing its clarity and lifespan. By incorporating window washing into your regular cleaning routine, you can prevent these problems and maintain the value of your home.
Best Practices for DIY Window Washing
Now that we understand the importance of clean windows, let us explore the best practices for achieving streak-free results. By following these guidelines, you can ensure that your windows remain spotless and your home looks its best.
Gather the Right Tools and Materials
The first step in successful DIY window washing is gathering the necessary tools and materials. Investing in high-quality equipment will make the process more efficient and effective.
Squeegee: A good squeegee is essential for removing water and cleaning solutions without leaving streaks.
Microfiber Cloths: These are perfect for wiping away excess moisture and polishing the glass.
Bucket: A bucket will help you mix cleaning solutions and transport water.
Cleaning Solution: Choose a commercial window cleaner or make your own with vinegar and water.
Having the right tools on hand ensures that you can tackle any window washing task with confidence. High-quality materials not only make the job easier but also deliver better results.
Prepare Your Windows for Cleaning
Before you start washing your windows, it is essential to prepare them properly. This step helps to remove any loose dirt or debris that could scratch the glass during cleaning.
Dust and Sweep: Use a brush or a vacuum cleaner with a nozzle attachment to remove dust and cobwebs from the window frames and sills.
Check for Damage: Inspect your windows for any cracks, chips, or damage that may need attention before washing.
Preparing your windows ensures that you have a clean surface to work with, reducing the risk of scratching the glass and improving the effectiveness of your cleaning efforts.
Use the Correct Technique
The technique you use when washing your windows can significantly impact the final result. Follow these steps to achieve streak-free, sparkling windows:
Start with the Frames: Clean the window frames first to avoid getting them dirty again after washing the glass.
Apply Cleaning Solution: Spray or apply your chosen cleaning solution onto the glass.
Use the Squeegee: Starting at the top of the window, use your squeegee to pull the solution down the glass in a smooth, straight motion.
Wipe the Squeegee: After each pass, wipe the squeegee blade with a clean, dry cloth to prevent streaks.
Polish with a Microfiber Cloth: Use a microfiber cloth to polish the glass, ensuring there are no streaks or smudges left behind.
Following these steps will help you achieve professional-quality results without the need for professional services.
Safety Precautions
Safety should always be a priority when undertaking any DIY project, especially when working at heights. Consider these safety tips when washing your windows:
Use a Stable Ladder: Ensure your ladder is on a stable surface and secure before climbing.
Avoid Overreaching: Move your ladder as needed to avoid overreaching, which can cause accidents.
Protect Your Hands and Eyes: Wear gloves and safety glasses to protect against cleaning solutions and debris.
By following these safety precautions, you can minimize the risk of accidents and ensure a successful window washing experience.
Trust Glass Patrols for Professional Results
While DIY window washing is a cost-effective solution for maintaining clean windows, there are times when professional services are the best option. Glass Patrols offers expert window cleaning services that guarantee sparkling results every time. With years of experience and the latest equipment, Glass Patrols can handle all your window cleaning needs, saving you time and effort.
Expert Technicians: Our skilled technicians are trained to deliver flawless results.
Advanced Equipment: We use the latest tools and techniques for efficient and effective cleaning.
Convenient Scheduling: We work around your schedule to provide hassle-free service.
Do not let streaky windows ruin the look of your home. Contact Glass Patrols today at https://www.glasspatrols.com/ to schedule your professional window cleaning service and enjoy the benefits of crystal-clear windows.
INCREASE YOUR SOLAR PRODUCTION UP TO 30%!
BOOK YOUR FREE SOLAR CLEANING QUOTE ONLINE
AND GET 20% OFF!!!

What Are the Best Practices for DIY Residential Window Washing?
What Are the Best Practices for DIY Residential Window Washing?
Streaky and Unclean Windows
Have you ever spent a sunny afternoon cleaning your windows only to be left with streaks and smudges? Many homeowners face the frustration of putting in the effort but not achieving the desired results. Streaky windows not only ruin your view but also diminish the overall appearance of your home. This common problem can be addressed with the right techniques and tools, ensuring that your windows remain sparkling and spotless.
The solution lies in understanding the best practices for residential window washing. With the right approach, you can transform your windows from dull and dirty to crystal clear. DIY window washing is not only cost-effective but also allows you to maintain the cleanliness of your home on your schedule.
The Importance of Clean Windows
Clean windows are essential for several reasons. They enhance the aesthetic appeal of your home, allowing natural light to flood in and create a welcoming environment. Dirty windows can give a negative impression, making your home appear neglected and uninviting. Beyond aesthetics, clean windows also contribute to the overall health of your living space by reducing the build-up of dust and allergens.
Aesthetic Appeal: Clean windows make your home look more attractive and inviting.
Natural Light: Clear windows allow more sunlight to enter, brightening your home.
Health Benefits: Regular cleaning reduces dust and allergens, improving indoor air quality.
Failing to clean your windows regularly can lead to more significant issues, such as permanent stains and damage. Hard water deposits, mineral build-up, and environmental pollutants can etch into the glass, reducing its clarity and lifespan. By incorporating window washing into your regular cleaning routine, you can prevent these problems and maintain the value of your home.
Best Practices for DIY Window Washing
Now that we understand the importance of clean windows, let us explore the best practices for achieving streak-free results. By following these guidelines, you can ensure that your windows remain spotless and your home looks its best.
Gather the Right Tools and Materials
The first step in successful DIY window washing is gathering the necessary tools and materials. Investing in high-quality equipment will make the process more efficient and effective.
Squeegee: A good squeegee is essential for removing water and cleaning solutions without leaving streaks.
Microfiber Cloths: These are perfect for wiping away excess moisture and polishing the glass.
Bucket: A bucket will help you mix cleaning solutions and transport water.
Cleaning Solution: Choose a commercial window cleaner or make your own with vinegar and water.
Having the right tools on hand ensures that you can tackle any window washing task with confidence. High-quality materials not only make the job easier but also deliver better results.
Prepare Your Windows for Cleaning
Before you start washing your windows, it is essential to prepare them properly. This step helps to remove any loose dirt or debris that could scratch the glass during cleaning.
Dust and Sweep: Use a brush or a vacuum cleaner with a nozzle attachment to remove dust and cobwebs from the window frames and sills.
Check for Damage: Inspect your windows for any cracks, chips, or damage that may need attention before washing.
Preparing your windows ensures that you have a clean surface to work with, reducing the risk of scratching the glass and improving the effectiveness of your cleaning efforts.
Use the Correct Technique
The technique you use when washing your windows can significantly impact the final result. Follow these steps to achieve streak-free, sparkling windows:
Start with the Frames: Clean the window frames first to avoid getting them dirty again after washing the glass.
Apply Cleaning Solution: Spray or apply your chosen cleaning solution onto the glass.
Use the Squeegee: Starting at the top of the window, use your squeegee to pull the solution down the glass in a smooth, straight motion.
Wipe the Squeegee: After each pass, wipe the squeegee blade with a clean, dry cloth to prevent streaks.
Polish with a Microfiber Cloth: Use a microfiber cloth to polish the glass, ensuring there are no streaks or smudges left behind.
Following these steps will help you achieve professional-quality results without the need for professional services.
Safety Precautions
Safety should always be a priority when undertaking any DIY project, especially when working at heights. Consider these safety tips when washing your windows:
Use a Stable Ladder: Ensure your ladder is on a stable surface and secure before climbing.
Avoid Overreaching: Move your ladder as needed to avoid overreaching, which can cause accidents.
Protect Your Hands and Eyes: Wear gloves and safety glasses to protect against cleaning solutions and debris.
By following these safety precautions, you can minimize the risk of accidents and ensure a successful window washing experience.
Trust Glass Patrols for Professional Results
While DIY window washing is a cost-effective solution for maintaining clean windows, there are times when professional services are the best option. Glass Patrols offers expert window cleaning services that guarantee sparkling results every time. With years of experience and the latest equipment, Glass Patrols can handle all your window cleaning needs, saving you time and effort.
Expert Technicians: Our skilled technicians are trained to deliver flawless results.
Advanced Equipment: We use the latest tools and techniques for efficient and effective cleaning.
Convenient Scheduling: We work around your schedule to provide hassle-free service.
Do not let streaky windows ruin the look of your home. Contact Glass Patrols today at https://www.glasspatrols.com/ to schedule your professional window cleaning service and enjoy the benefits of crystal-clear windows.
Window & Solar Cleaning Specialist
Two Families, One Mission
©2024 Copyrwrite Lot Patrols, LLC

